Creating the Diffuse Source:
To begin the process towards creating a diffuse map (the texture) for my brick wall, I had to start by creating a source map from my high poly model. As the AO and normal maps will be produced using the same model, it is important that the texture matches up to these. I had to start by making sure the bricks will stand out from the mortar, so I changed their material attributes to make one white and the other black.
When creating the diffuse source in the 'transfer maps' window, I selected the low poly wall (plane) as my target mesh and the high poly bricks and mortar (background cube) as the source mesh. I had to increase the search envelope to 3% to ensure that all the bricks and mortar were picked up.
This is the resulting image, which I will be using to create my diffuse map.
To make a start on my diffuse map, I created separate bricks and mortar layers by selecting the white bricks in the alpha channel and copying them into their own layer. I have a filled black background to show the mortar. I then made a new layer 'Colour' filled with red that is 'nested' into the white bricks layer, meaning the red colour is only visible when the brick layer is also visible.
I will continue working on the texture later, but first I want to create a second normal map (using the transfer maps technique) and the Ambient Occlusion map. The normal map is generated the same way as the diffuse source that I just did. Below is the result, so I now have a normal map image to work with.
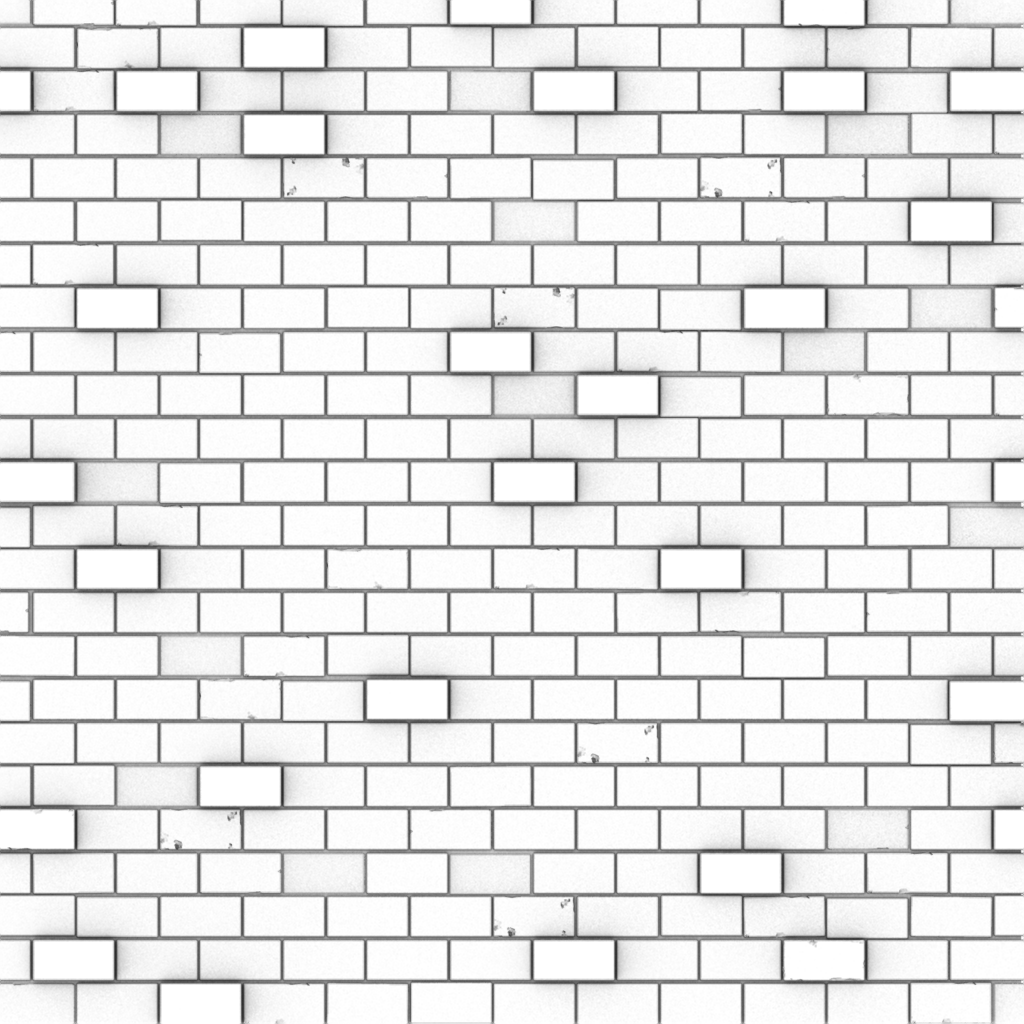
The next step is creating the ambient occlusion map. To do this, it is the same process used in creating the diffuse and normal maps.

My resulting AO map, ready to apply to the low poly wall model, and also for use in creating the texture.
I also wanted to quickly test the same technique on my ivy leaf model, using the high poly version as a source mesh and projecting it onto a low poly plane. Above is the resulting normal map.


