Tuesday 25 March 2014

Manor House Texturing Continued

Below is the manor house in its current state. I've been reworking the bricks texture as well as moving onto texturing the other main elements of the building. 


I've now decided to create a brick texture 'tile' to apply to the walls instead of trying to put all of the textures into one map as I'd done before. This way I can allow more detail on the bricks, and it's also much easier to apply to the model. To create it, I used the same methods that I'd learnt from the brick wall tutorial I followed earlier in the year. Repeating this process has helped me to memorise the methods which I will no doubt be using a lot in the future.  


As well as the walls, I've got round to texturing the columns, steps, balcony and front door of the house. Below are some shots showing what kind of layers I include to construct the textures. For the wood grain of the front door I took a few photos of wooden furniture in my house and altered the layer so that only the wood grain pattern was visible. 


I've also been creating normal maps (using the NVIDIA plug-in for Photoshop) as I go along and testing this with the render settings and lighting to make sure it's working. 


Thursday 20 March 2014

Manor House Texturing

Continuing with the textures for the house, I feel that so far the parts which are textured seem to be clashing a little. I decided to try some alterations on the corner bricks and the main bricks textures to reach a combination which I felt would work well.  


I thought the best way to do this was create adjustment layers over the original image to tweak the hue and saturation. That way I could make new alterations easily. 


I did try out a greener hue, looking back to my concepts from pre-production, but I felt this in itself clashed too much with the other components of the building that I'd already textured. I'm happy with everything else as it is, so I would rather change the brick texture to work with everything else instead of vice versa. 


I made some tweaks to the corner bricks texture as well, although in the end I went back to the original version.


Next, I've started working on the textures for the steps up to the front door. I started with a base colour layer which I've painted and blended a few tones together to create a stone shade. Above that is the shadow layer, which is where I've used the gradient tool to apply some soft shading to the areas which would naturally have accumulated more dirt.   


Above the shadow layer I created a texture layer, which is where I've used a selection of brushes to give the effect of rough stone. Then the final layer is the dirt layer, which is where I have created some darker patches of grime where other parts of the building meet (such as the base of the balusters) as well as adding some scratches and soil spatters. This is a really important part for all of the textures that I will be making, as every model will need to look like it has been exposed to the elements.    


This is the texture in progress for the stair rail for the front door steps. I'll be using the same type of layer setup that I made for the steps as they are made from the same stone material. 


Here is the texture in progress for the columns placed at the base of the steps. I'm using a similar layering process, but this time with a slightly smoother stone look. I will be adding more dirt and grime to it.


All of today's textures as they appear on the models so far, including the balusters. 


Wednesday 19 March 2014

Gardens

Looking back at my original plans for the scene, I always wanted to include a walled garden area. So today I have begun modelling some walls and a pond as the starting point. I imported one of Alex's bird bath models - however I have had to alter the mesh on this model as it was overly complex and there were a few out-of-place vertices/faces that needed fixing. 


Monday 17 March 2014

Textures: Manor House

I felt that the main walls of the manor house were currently looking too low-resolution, so I decided I would create a new texture that could be applied to each wall section separately.  


I started the new texture by painting a base colour layer and then adding a photo texture layer from a photo I had taken at Thorpe Hall. I had taken a few pictures of various textures I found on my visits, which I will be using in some of my texture creation although the majority of them will be created with only digital paint brushes. I removed all saturation from the photo first, and also altered the levels so that it had a good balance of light and dark areas which would create the illusion of a rough texture. I set the photo layer mode to multiply and decreased the opacity so that it blends into the colour layer.    


On top of that, is the cement layer which I made by first creating solid colour white brick shapes and then inverting the selection and filling the space on a new layer with an off-white solid colour. With that, I could then take a selection of 'bricks' and create an adjustment layer nested to the Base Colour layer to darken/brighten that selection - resulting in a random selection of darker and lighter bricks. This gives a little more realistic variety to the wall of the house.  


Next is to give the wall some natural dirt and grime. First I create a 'shadow' layer using the gradient tool at the top and bottom of the wall where you would naturally find more dirt from the ground and from where rain water drips down from the roof. Then there is the Dirt layer, where I use different brushes to give the effect of spots of dirt and also streaks of grime. 


Next was the texture for the columns at the front of the house. I used the same techniques as before, except that I used no photo images in this texture. Every part was created using different paint brushes. 


After checking how the texture looked when applied to the house model in Maya, I thought it looked a little too dark so I decided to make some alterations to the hue, saturations and lightness in the Photoshop file and reload it. I'm more satisfied with the way it looks now. 

Tuesday 11 March 2014

Entrance Gate UV mapped


Today I've finished mapping the entrance gates, and also creating a small chain to hold the padlock to the gate. 


Sunday 9 March 2014

CanJam 2014

Over the 8th-9th of March I took part in CanJam 2014 - a 24 hour game jam held at the University of Lincoln. The jam is a competition for teams to create a video game designed with a chosen theme, all within 24 hours which is then judged by the events organisers and guests from games production studios such as Rockstar and Crytek.

I teamed up with Alex Saye and Sean Oxspring (who are both doing the programming for my third year project) to create "Abduction Addiction". The three of us brainstormed our ideas for the game at the start of the jam, my role for the rest of the time was creating all the models and textures.

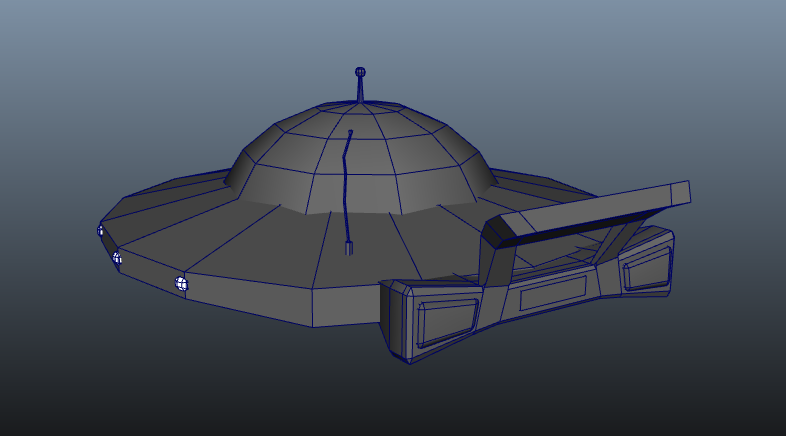
Below are all the models and textures which I created in the 24 hours of the jam. I was asked for them to be as low poly as possible (except for the UFO), which also made it easier to model, UV and texture them within the time limit.


Below is some footage of my team's finished game. I also created the terrain texture of grass and roads.


Taking part in the jam helped me gain some experience in team work and video game development. I had to try to create what my other team members wanted, to a standard worthy of competition and also within a set amount of time. 

Wednesday 5 March 2014

UV Mapping the Manor House and Groundskeeper's Hut

Continuing with UV mapping, I've mapped all of the parts that form the back entrance of the manor house ready for texturing. 


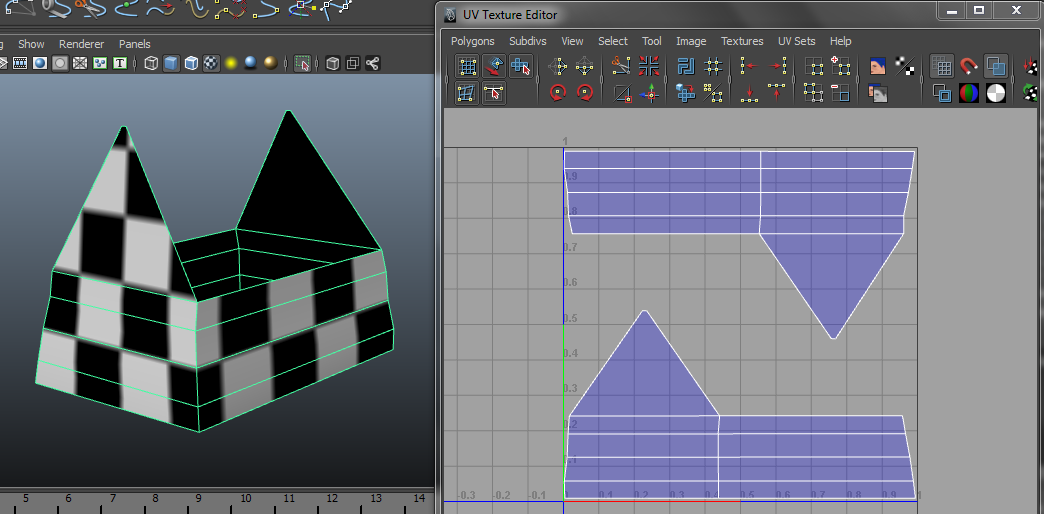
Once this was sorted, I moved onto mapping of the groundskeeper's hut. This includes the main building, roof, chimney, door and frame, windows and frames and the wooden planks boarding the windows. Below are just a couple of shots showing how I've unwrapped the main body of the hut and the roof.