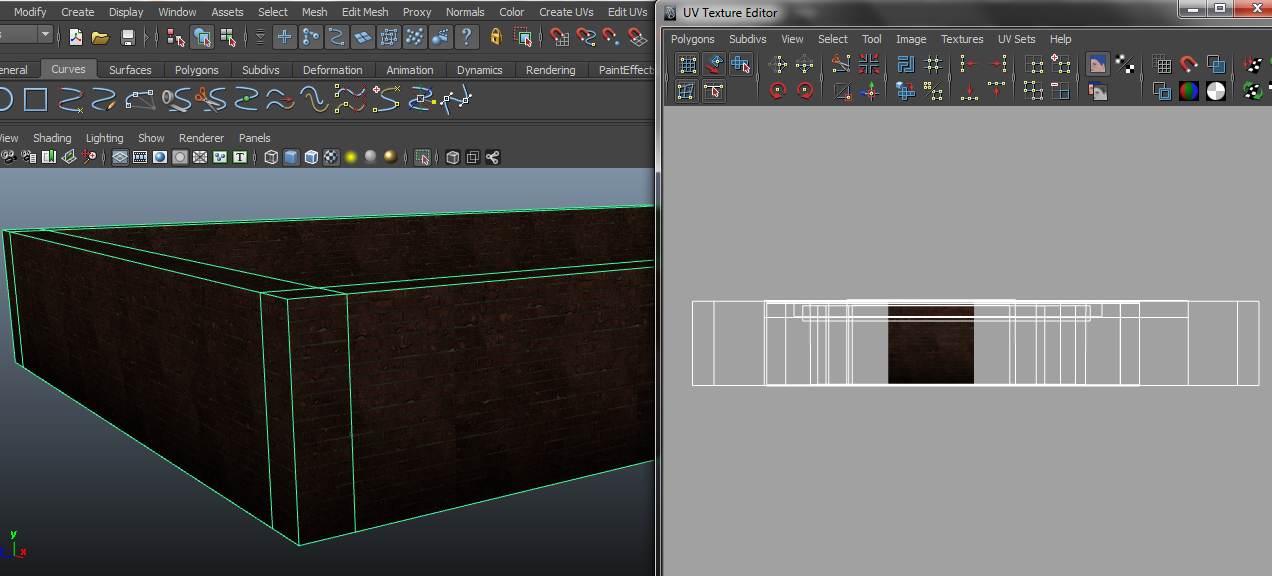
As it goes, I'm now mapping and texturing the more minor models at the same time. It's a lot quicker than mapping everything first. I've made another type of brick texture to apply to the walls of the garden, and I'm now pretty confident with this process. Below you can see the diffuse and ambient occlusion maps that I took from my high poly model and used to produce the texture to be applied to the low poly walls.
Below you can see how I construct the brick wall texture in Photoshop, starting with just the diffuse and AO maps.
Next is the stone archway, I referred back to the textures of the manor house so that it would appear they have been constructed from the same materials.
For the pond, as I intended for the water to look stagnant it wasn't such an issue that the texture would be a still image. The difficulty came in my first attempt, where I tried to place both the water and brick sections in one texture map. The bricks didn't match up properly with the model and they appeared too low resolution. So I decided to separate the model into two parts and then apply a new brick material to the brick section. This worked much better, and I was able to get a little more detail into the brick texture.
The birdbath model was made by Alex, with alterations to the mesh made by me. I reduced some of the edge loops and cleaned up some issues with extra faces and edges not being attached to one another. Then I mapped it and created a texture.
I've created some simple flowerbeds from planes, I gave them uneven surfaces using the sculpt geometry tool. I wanted them to look mostly dead, but still indicate that there would have been plant life growing there so I created a soil texture with various brushes and added some small purple flowers.
There is also a wooden bench which I've modelled, mapped and textured. I made a small wood section of the texture, using wood grain from the images I had taken before and adjusted the opacity and colour to blend it with my painted strokes.
I've created some dying shrubs to place in the garden, but these could also be used elsewhere in the game level. I've constructed these in the same process as the trees, beginning with the branches which are polygon tubes extracted along a curve. I then created branch planes to attach at various points on the main branches and rotate to give the shrub shape. When creating the branch plane texture, I wanted to keep the leaves fairly sparse so it appears as though these shrubs are neglected.
I've made another type of shrub which is fuller to add some variation to the scene. I modelled it using the same technique as the other shrub, but this time the leaf plane is larger and the mesh is slightly different so that I could curve it. This curve give the shrub more of a rounded shape and also means that the leaves are visible from more than one angle - unlike with flat planes.
Below are the two textures used for two types of shrub. I start by painting a branch in one block colour and then add a texture to this on a separate layer which is visible only in the area of the painted branch. Next I create two variations of a leaf. I looked at real life examples for inspiration and then painted my two leaf types from scratch. Then I duplicate these and arrange them around the branch, intersecting and overlapping them until I'm happy with the design. I added some adjustment layers to give a little colour variation to some of the leaves for a more natural look.


